AA: Minimize The Task Window With This
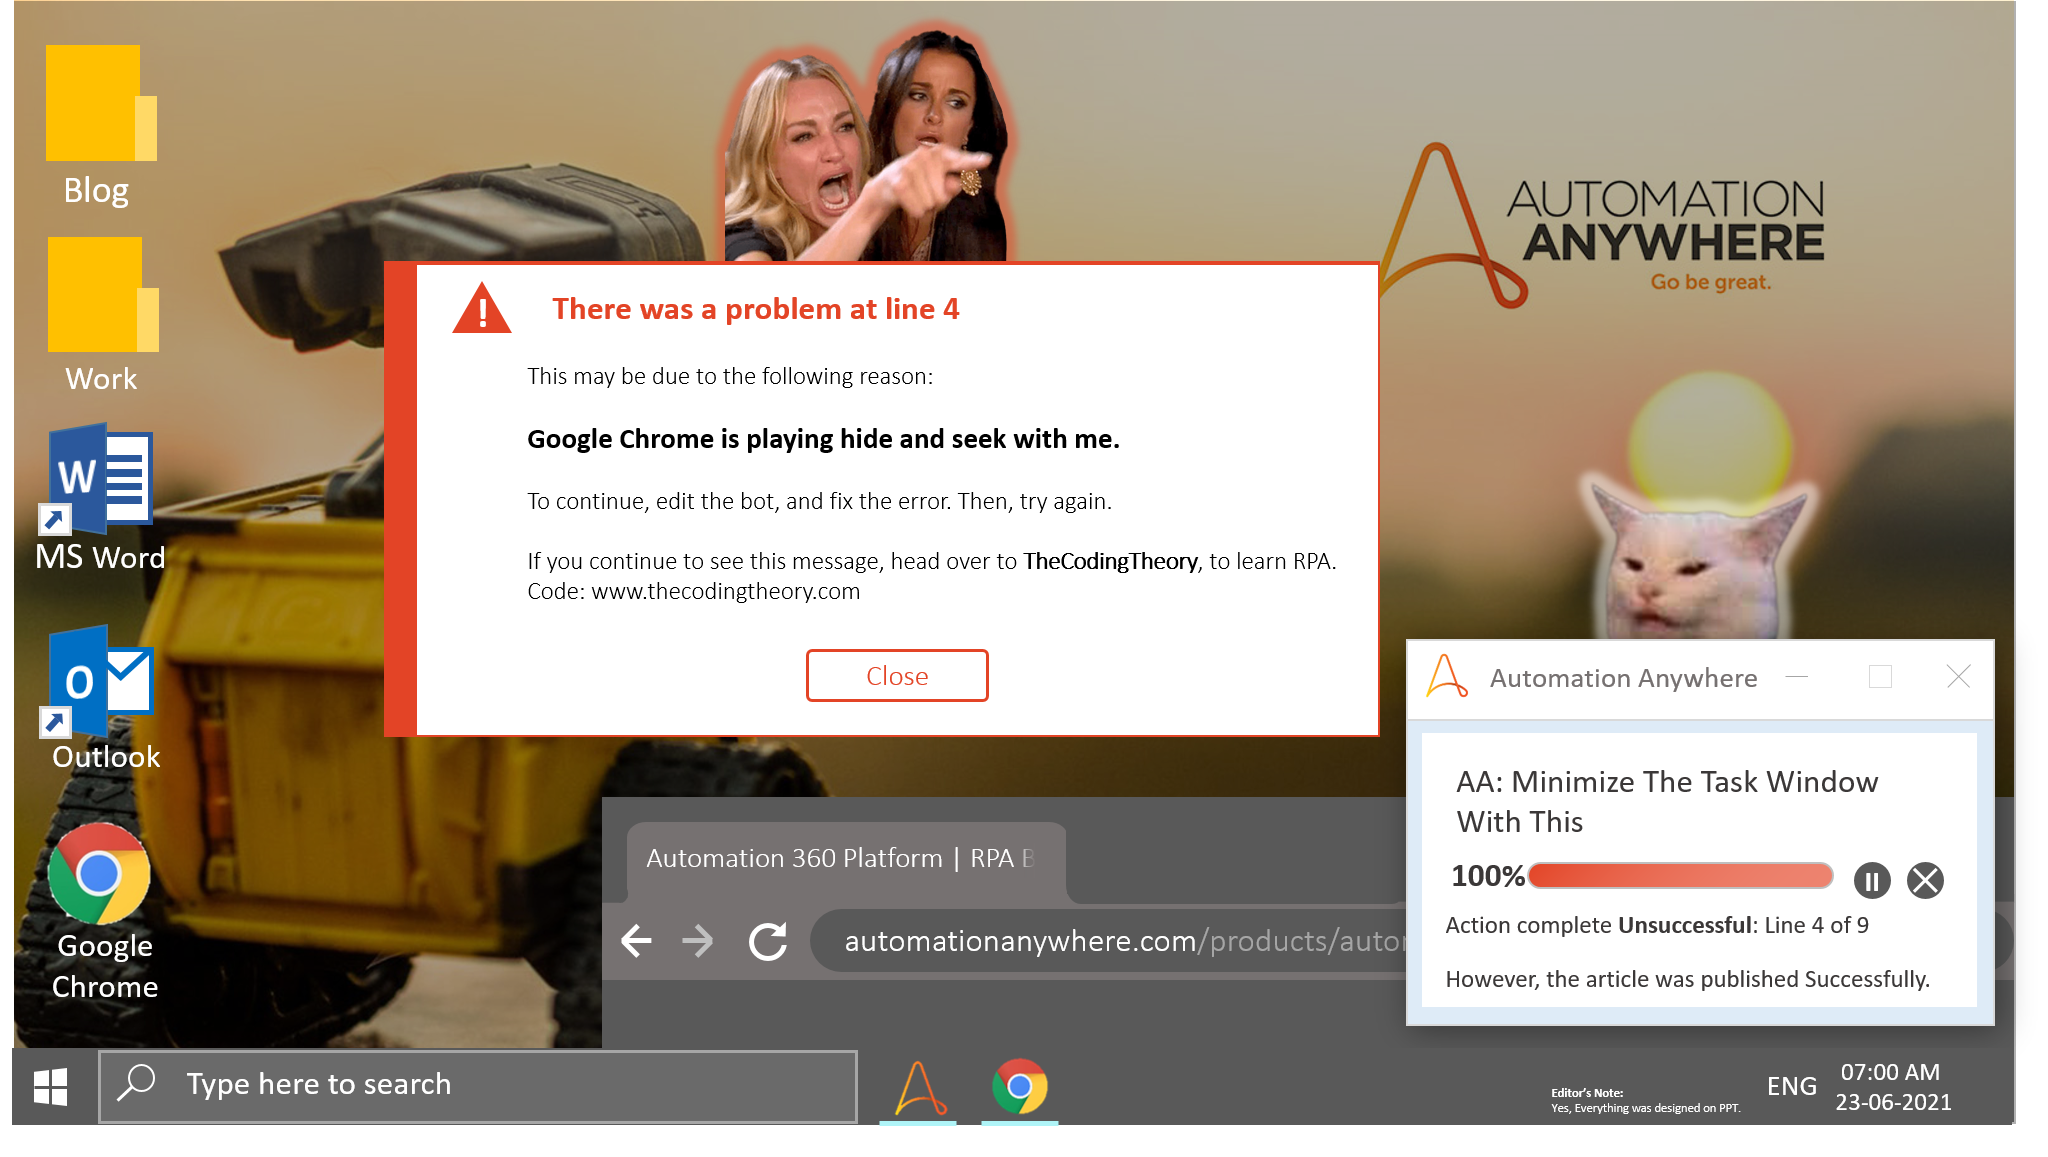
When we run automations with Automation 360, a task window pops up, indicating the progress of our automation.
It is useful as it not only tells us at which stage the bot is currently at, but also provides us with the option of pausing or stopping the automation, in case something goes wrong.
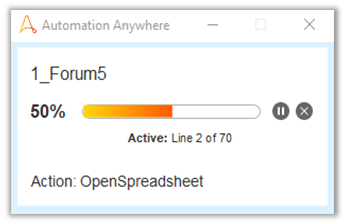
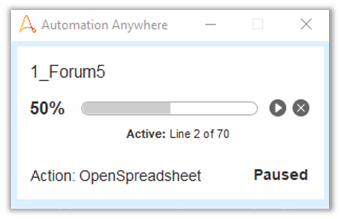

Of course, we don’t want anything to go wrong, but if it does you can always hit pause, and point fingers at the person responsible for developing it.
It is Useful, BUT
It can get in the way.
I remember facing this issue once, while automating a web application.
It was a webform, where the bot had to fill in details, check the right boxes, upload files etc, and there were five different sections that had to be filled.

To access each section, the bot had to click Next, and wait for the web application to load the section, but the button was positioned on the bottom right corner so it often ended up clicking the task window.
My resolution at the time was to check the box for “Run in background” in the Recorder: Capture Action, and it worked…
But the Task Window bothered me.
In fact, it bothered me so much, that I set out to find a way to minimize Automation Anywhere using Automation Anywhere itself.
Before we head into any of that, let me brief you on few prerequisites while automating web applications.
Maximize the Window
It is better to include a step where the window is maximized first, before the main process initiates.
Doing so ensures your automations won’t fail because of something silly, like not being able to interact with a button because it is playing hide and seek in with the Task Window, or because the window is positioned awkwardly.
So drag in a Window: Maximize Action anytime web automation is involved.
Add a Delay
A short 2-3 second delay helps the browser load completely.
An even better approach would be to include a Window: Wait for Window Action, followed by a Delay: Delay->2000ms to ensure the browser completely loads.
Use Google Chrome
I don’t use IE or Edge, because web automation with Automation Anywhere is a little tricky as it involves Xpaths.
I will write on that as well, but for now think of it as locators which allow us to uniquely identify elements on a webpage.
Coming to why I use Google Chrome, it’s easier to inspect elements on Chrome, than it is with other browsers.
There is a Chrome Extension called ChroPath which crafts the Xpaths for you, so you don’t have to rack your head over them.
But I highly recommend racking your head over them, because it’s fun to play around with, once you get a hang of it.
Now For The Task Minimizing Juicy Bits
Although the steps involved aren’t too complicated, I initially struggled to find a way to achieve this.
When you run an automation, you can’t run another on the same machine.
You can only install one Automation Anywhere Bot Agent, not two, not ten, ONE.

So how will we capture the window when the Bot Agent is busy running our automation?
Read on and it will all make sense.
That is where I struggled.
And specifically, it was with that line of logic.
Just Because an Automation Is Running…
Doesn’t mean you can’t leverage other parts of the Control Room.
By other parts, I meant you could capture the Window either if you had another Automation Anywhere Tab open, or Duplicated the same Tab.

Now, you can run the Recorder: Capture Action and capture the Window.
But you know what is even better than that?
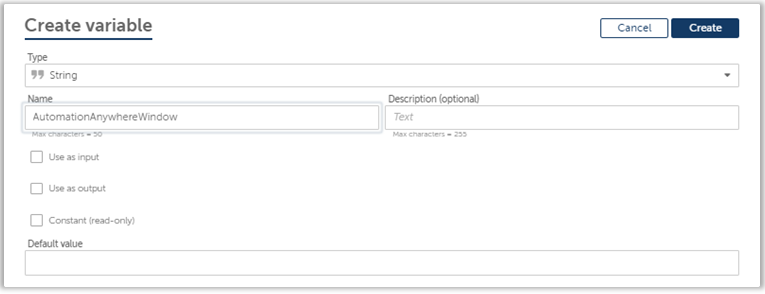
Creating a Window Variable.
Don’t fact check that though.
Don’t forget to set the variable type to Window. I tend to forget this step and end up having to recreate it once more. It would have been nice if Automation Anywhere allowed us to change the datatype of existing variables, but as of today, that is not possible.
After you fill in the necessary details, toggle over to Application, and hit refresh.

Browser only identifies windows in that particular browser where our Control Room is currently opened up in.
Application identifies windows other than the windows present in the browser where our Control Room is open in. You may also select “Currently Active”, “Desktop” or “Taskbar”, but I wouldn’t recommend using them.
It’s better to stick with Window Variables, as they make it easier for our robot to zero into the right window.

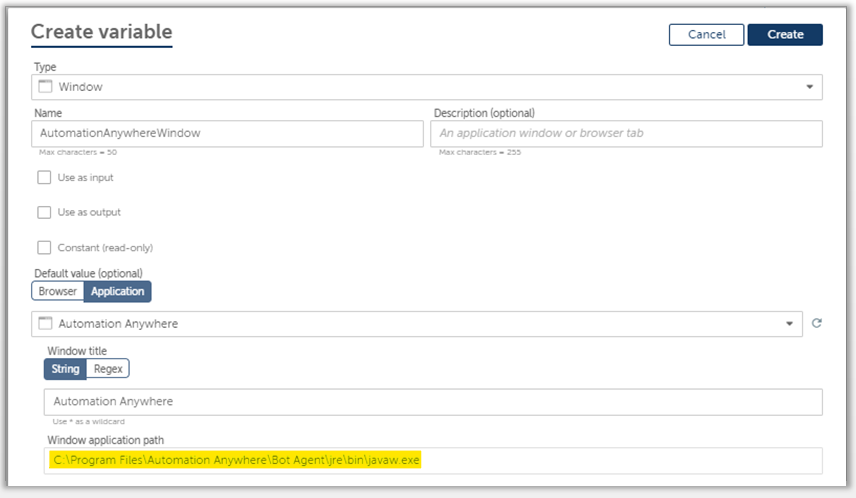
Now that we have selected the window, all we have to do now is drag in a Window: Minimize Action, and say goodbye and good riddance to that annoying Task Window.
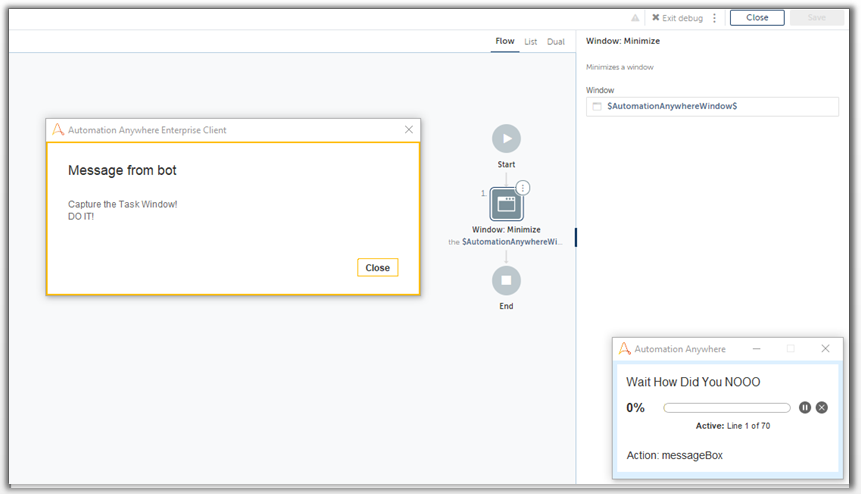
In V11, there was an option to toggle it off, but in Automation 360, that option is not present. I’m not really sure why they decided to remove that option, but that doesn’t mean we can’t achieve the outcome.
Anything is possible once you set your mind to it.
Next week, I will guide you through a Data Scraping Activity, which heavily relies on your ability to craft reliable Xpaths as well as your ability to concentrate for extended periods of time.
See you then.
